Skim or Replaster? How to Tell What Your Walls Need
By Atif Ali, Lead Builder at CH Developments.
Last updated: 6 September 2026
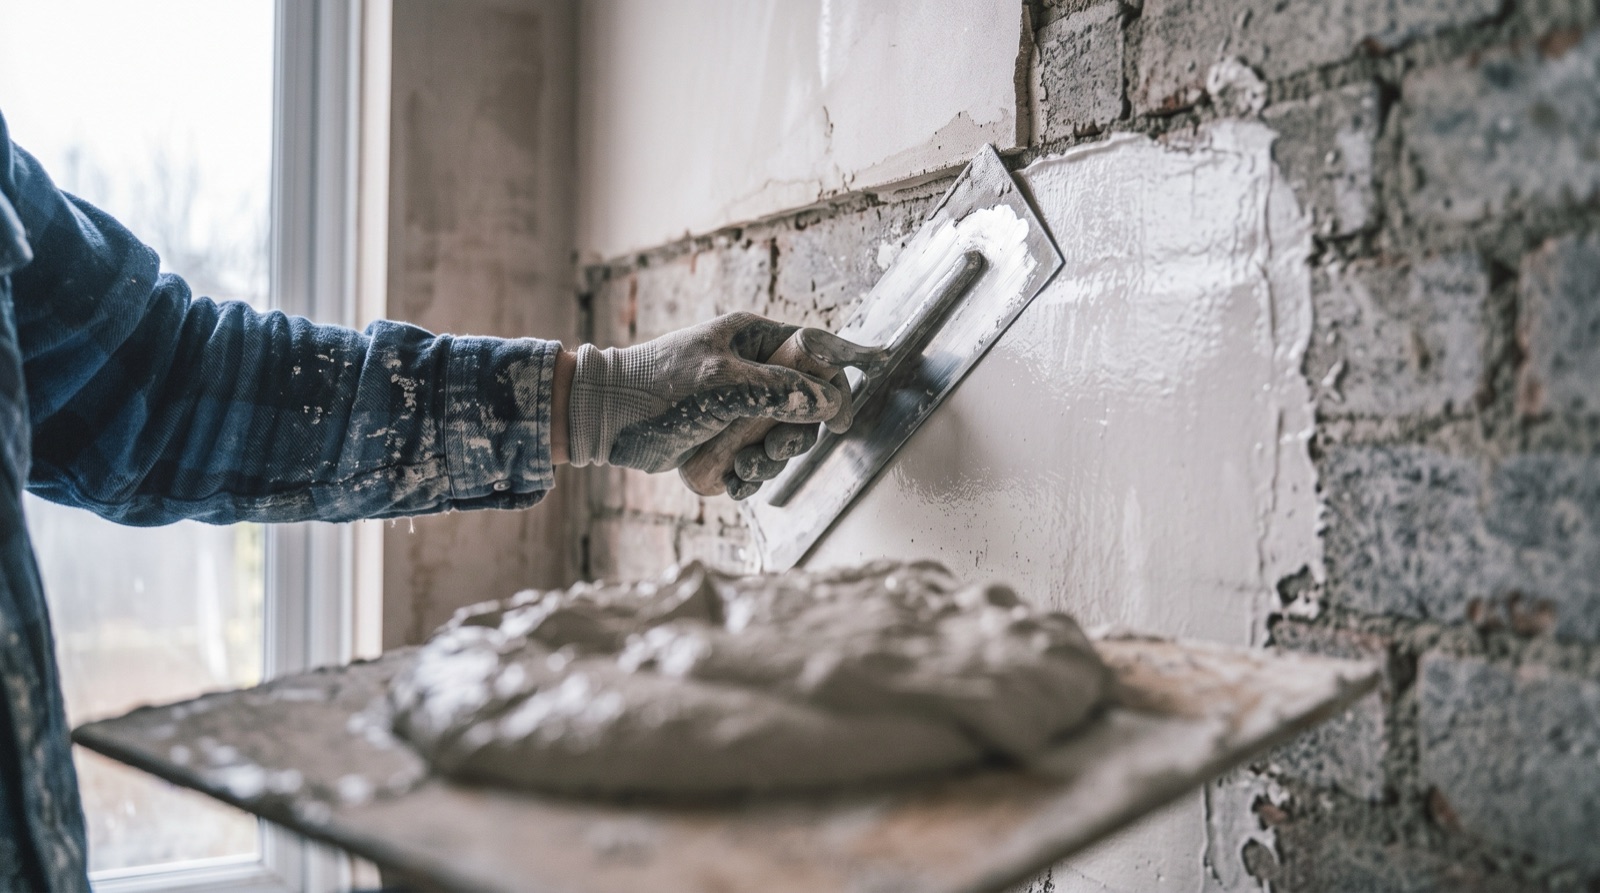
Skimming is a thin finish over sound existing plaster. Replastering removes or goes back through failed layers and rebuilds the base. Tap for hollow areas, check for live cracks and investigate damp before choosing. If the backing coat has lost its bond or moisture is unresolved, a skim will not fix the underlying problem.
How can you tell whether plaster needs a skim or replaster?
Three quick checks tell you most of what you need to know:
- Tap the wall. A hollow, drum-like sound means the plaster's blown and has come away from what's behind it. A skim won't fix that.
- Look for live cracks. A crack that's growing, or that reopens after filling, points to movement or failed plaster underneath, not just a cosmetic mark.
- Check for damp staining. Brown or yellow marks, or plaster that feels soft or crumbly, mean there's a moisture problem that needs solving before any new plaster goes on.
If the backing plaster passes all three, a skim coat is enough. If it fails any one of them, you need a replaster, not a skim.
Skim vs full replaster: what each actually is
Plaster on a solid wall is built up in layers, and understanding them explains why skimming walls sometimes isn't enough on its own. The backing coat is the thicker layer underneath, applied directly to brick or block, and it does the real structural job of building a flat, sound surface. The finish coat, or skim, is the thin final layer on top, usually only a couple of millimetres, that gives the smooth surface ready for decoration. That's the skim coat vs plaster distinction: skim is the finish, plaster is the structure beneath it. A skim coat only works if the backing coat underneath it is sound. Skim over a backing coat that's blown, damp or crumbling and you're just hiding a problem that's still there. It will fail again, usually faster than the first time.
Full replastering means stripping back to brick or block and rebuilding both layers, backing coat and finish coat, from scratch. It's more disruptive and takes longer to dry, but it's the only real fix when the base underneath is compromised.
Plasterboard changes the picture. Modern walls, and a lot of renovated older ones, are finished with plasterboard rather than wet plaster applied directly to the wall. That's either dot-and-dab, boards bonded to the wall with adhesive dabs, or boards fixed to a timber or metal frame, then skimmed over the joints. Where a wall or ceiling is on plasterboard, a "replaster" often actually means overboarding: fixing new plasterboard over the old. Or it means stripping back to the studs or masonry and starting again, rather than replastering wet plaster in the traditional sense. Solid walls in older properties, particularly pre-war housing stock, are more likely to be on traditional wet plaster or, in some cases, original lath-and-plaster, where the decision between skim and full replacement matters even more.
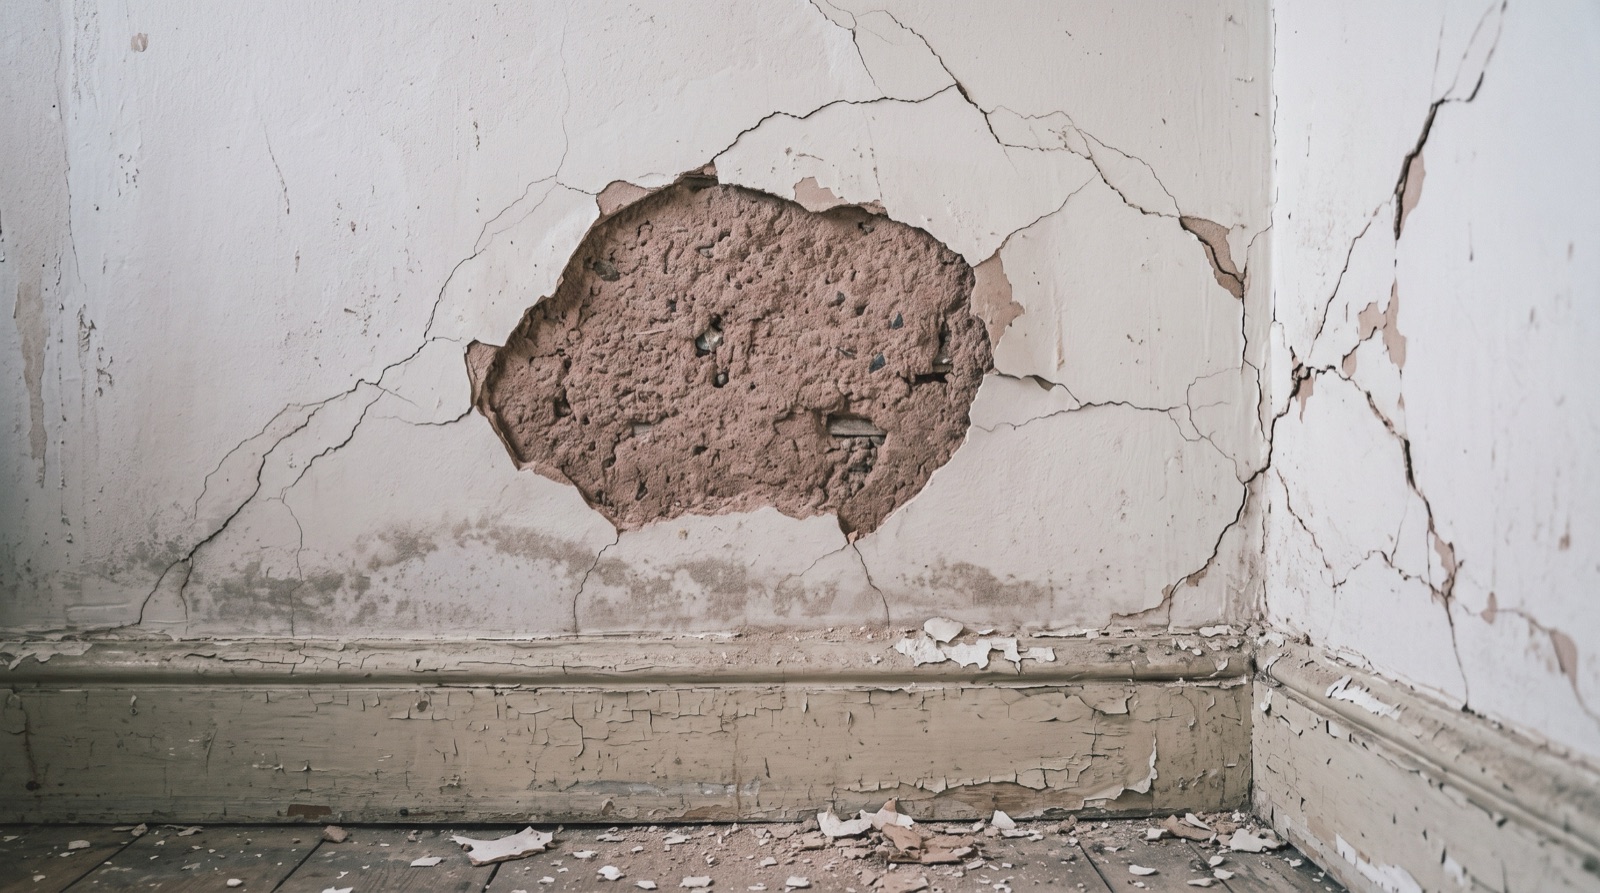
Six signs your walls need replastering
Blown or hollow plaster
Plaster that's lost its bond with the wall behind it sounds hollow when you tap it, and often looks slightly bulged or uneven. A skim on top of blown plaster doesn't reattach it. It just hides the problem until it fails again.
Persistent damp staining
Brown or yellow staining, or plaster that stays damp to the touch, means moisture is getting into the wall from somewhere: a leak, rising damp, or a failed damp-proof course. Fix the source of the damp first. Replastering over an unresolved damp problem is money spent twice, because the new plaster will fail the same way the old one did.
Salt contamination
Damp that's been present for a long time can leave salts in the wall, which show up as a powdery white bloom or cause new plaster to fail even after the damp itself is fixed. Walls affected by salt contamination usually need a specialist salt-resistant backing coat, not a standard replaster.
Live structural cracks vs shrinkage cracks
A fine, hairline crack that doesn't move and appeared once, typically as a house settles or plaster shrinks while drying, is usually cosmetic and fine to fill and skim over. A crack that's growing, that reopens after filling, or that runs diagonally from a door or window corner is a different matter. It points to structural movement that needs investigating before any plastering happens; LABC has guidance on when building control needs to be involved.
Failed key on lath-and-plaster
In older properties, particularly pre-war housing stock, walls and ceilings are sometimes built on timber laths rather than plasterboard or masonry. The plaster's "key", the part that squeezes between the laths and holds it in place, can fail with age. Once the key has gone, the plaster is only a matter of time from coming down, and a skim won't change that.
Crumbling gypsum
Old gypsum plaster that's simply reached the end of its life crumbles or powders when touched, rather than staying firm. This is a straightforward case for replastering rather than skimming, regardless of what's causing it.
Plastering over artex
Artex texture coating was common in British homes from the 1960s through the 1980s, and it raises two separate questions: what to do with it, and whether it's safe to disturb.
There are a few options for what to do with it. Skim directly over sound, well-bonded artex if the texture coating is stable: often the simplest route. Overboard, fixing plasterboard over the top and skimming that, where the artex is patchy or the ceiling needs levelling. Or remove it entirely, the most disruptive route, usually only worth it where the artex is failing badly.
On safety: artex applied before 2000 may contain asbestos, and this is a point worth taking seriously rather than skipping. The Health and Safety Executive publishes clear guidance confirming that textured coatings, including artex, are among the materials that can contain asbestos in older properties. Disturbing them, sanding, scraping, drilling, without checking first is a real risk. If your artex predates 2000 and you're not certain of its composition, get it tested before anyone touches it. Skimming over undisturbed artex is generally the lower-risk route compared with sanding or removing it.
Where plastering forms part of a wider renovation, identify the applicable guidance by name: Approved Document A for structural work, Approved Document C for moisture and contaminants, and Approved Document L where thermal performance is affected. Check the current GOV.UK collection before publication.
How much does a plasterer cost? What moves the price
No two plastering jobs cost the same. Plastering cost simply comes down to a handful of factors, and the reason isn't mysterious once you know what to look at.
Room size and ceiling height are the obvious ones: more square metres means more material and time, and a high ceiling, common in older Victorian properties, takes longer to work at than a standard modern one.
Condition of the base underneath is the biggest hidden factor. A sound backing coat that just needs a skim is a quick, contained job. A wall that needs stripping back, treating for damp and rebuilding from the backing coat up is a different job entirely, even though the finished result might look identical.
Skim, replaster or overboard is the next variable, for the reasons already covered above: each is a different scope of work, and pricing them the same would be dishonest.
Ceilings cost more than walls of the same area, because working overhead is slower and more demanding than working on a vertical surface.
Access matters more than people expect. A plastered stairwell, a ceiling above a tricky-to-scaffold space, or a room full of furniture that has to be worked around all add time that a straightforward empty room doesn't.
Drying time between coats affects how long a plasterer is on site, which affects the overall job cost even where material use is similar.
Because all of these vary job to job, the only honest way to price plastering is to see the walls first. As a CHAS-accredited, fully insured contractor, we offer a free fixed-price quote once we've assessed the actual condition of your walls and ceilings, not a figure guessed over the phone.
Drying, mist coats and decorating after
Fresh plaster needs to dry properly before it's decorated, and rushing this stage is one of the most common ways a good plastering job ends up looking patchy. As a rough guide, a skim coat typically needs around a week to dry per coat in reasonable conditions. A full replaster, with its thicker backing coat, can take several weeks to dry out fully, longer still in cold or damp weather when natural drying slows down.
A mist coat is a heavily watered-down first coat of emulsion, applied before full-strength paint. It matters more than people think: it lets the paint bond properly to plaster that's still slightly porous. Skipping it, or going straight to a full-strength coat, is a common cause of patchy, uneven-looking paintwork on new plaster.
A bit of airflow through the room helps drying along, but direct heat aimed at fresh plaster to speed things up causes cracking, not a faster finish. Patience protects the work you've just paid for.
Plastering in Redditch and Worcestershire
Worcester's Victorian terraces are some of the properties where the skim-versus-replaster question comes up most often, because original lath-and-plaster walls and ceilings are common. Their condition varies hugely from one house to the next, depending on how they've been maintained. Redditch's housing stock includes a lot of 1930s semis, often built with original lime-based backing plaster that behaves differently to modern gypsum and needs a plasterer who knows the difference.
In our experience across both towns, the tap test at the top of this guide catches more than homeowners expect. A wall that looks fine painted over is often sitting on plaster that was already blown. Both towns have their share of properties where a previous skim has been applied over a backing coat that was already failing. That's exactly the trap the three-test check at the top of this guide is designed to catch. Our plastering team works across the wider region, including plasterers in Redditch and Worcester. Correctly diagnosing skim versus replaster before quoting is the difference between a job that lasts and one that needs doing again in two years. If your plastering is part of a wider job, our guide to renovating a house: the right order of works covers where plastering sits in the bigger sequence.
FAQ
Can you plaster in winter? Yes, though drying takes longer in cold weather, so allow more time between coats and before decorating. Heating a room gently, without aiming direct heat at fresh plaster, keeps drying steady through winter.
How soon can I paint after plastering? Once the plaster is fully dry, usually around a week for a skim coat and longer for a full replaster, start with a mist coat before any full-strength paint.
Can I skim a wall myself? It's possible for a small, competent DIYer on a small area. But plastering to a smooth finish is a skill, and a poor DIY skim usually costs more to fix than it saved.
Get an honest diagnosis, not just a quote
Tap test, crack check, damp check: it's a good starting point, but nothing replaces a plasterer looking at your walls in person. Book a free fixed-price quote with CH Developments and we'll tell you straight whether you need a skim or a full replaster.